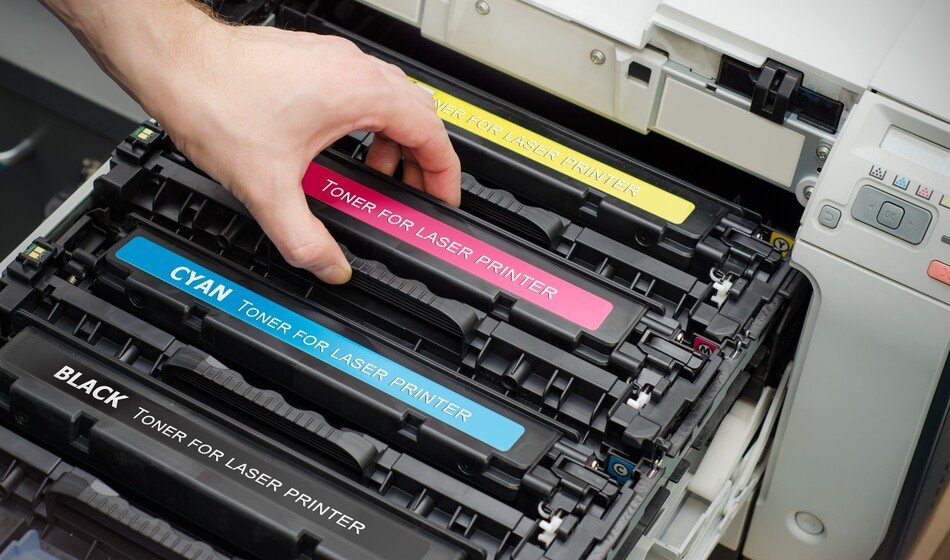
If you have worked with a printer for a while then you know how crucial the toner cartridge is to the working of the machine. The component is often included in laser printers for efficient performance. Nonetheless, replacing a worn-out toner cartridge is super costly.
As if the steep cost is not enough, sourcing a proper model to fit your printer can be a pain in the neck. That is why most folks go for refills instead. Not only is it kind to your pocket, but it also saves time. But, what do you do when your need to refill your toner cartridge? That is a question you must answer if you are not ready to go through the trouble of finding a new toner cartridge.
Fortunately, this article takes you through three proven methods to refill your toner cartridge. Stay tuned for more.
The Quick Puncture Method
As the name suggests, this approach is a time saver. With this option, you do not have to take apart your cartridge to refill it. The refill kit features a puncture bit that is compatible with every drill to help with the refilling process.
All you have to do is drill a hole close to the end of the cartridge. You will then pour the toner powder through the hole with a funnel. When you are done, shake the cartridge to evenly distribute the toner then seal it with a plug or duct tape.
The Full-Service Approach
For this approach, you will start by taking apart the toner cartridge component. To safely do that, you need a good pair of gloves. Every component of the body features a unique kind of screw. Thus, have proper storage for every set of screws you take out.
- Onward, pull apart the plates situated on the two sides of the toner cartridge.
- Thereafter, give the resultant halves of your cartridge a slight jiggle to separate them.
- Next, take off the huge colored drum component from the body then extract the tiny roller located behind it. By so doing, you will expose a small thin metal strip.
- Gently extract the remaining screws before taking out the metal strip with a pair of tweezers or needle-nose pliers. Bending the metal too much can be destructive. Take caution against that.
- When you have lifted off the metal, you will see the expose old toner right below the strip. Remove the toner then clean it neatly with canned air.
- After cleaning every piece carefully, replace the cartridge rollers and also replace the metal strip.
- From there, you will proceed to the remaining half of the cartridge and extract its thin roller component. In this manner, you will have an easy time cleaning the body.
- Upon removing the thin roller object, you will expose a small outlet that stretches to the toner reservoir. Pour the toner powder through the opening with the help of the funnel it comes with to fill up the reservoir until it overflows.
- Give the roller a good clean before snapping it back to where it belongs. After that, clean off excess powder and reassemble every component.
The Level Circuitry Approach
On rare occasions, cartridges include an extra refill step. As you might already guess, it is the level circuitry. The step precedes the full-service approach and the quick puncture method. It is a vital approach for devices with toner level-sensing chips. The chips help the printer recognize when the cartridge is filled.
Conclusion
There you go! Refilling your toner cartridge should be a walk in the park with the three methods highlighted above. As opposed to purchasing a new component, refilling is a superb alternative that helps you save money and time.

